I’ve added a revision to this post regarding choosing the right grout. See here.
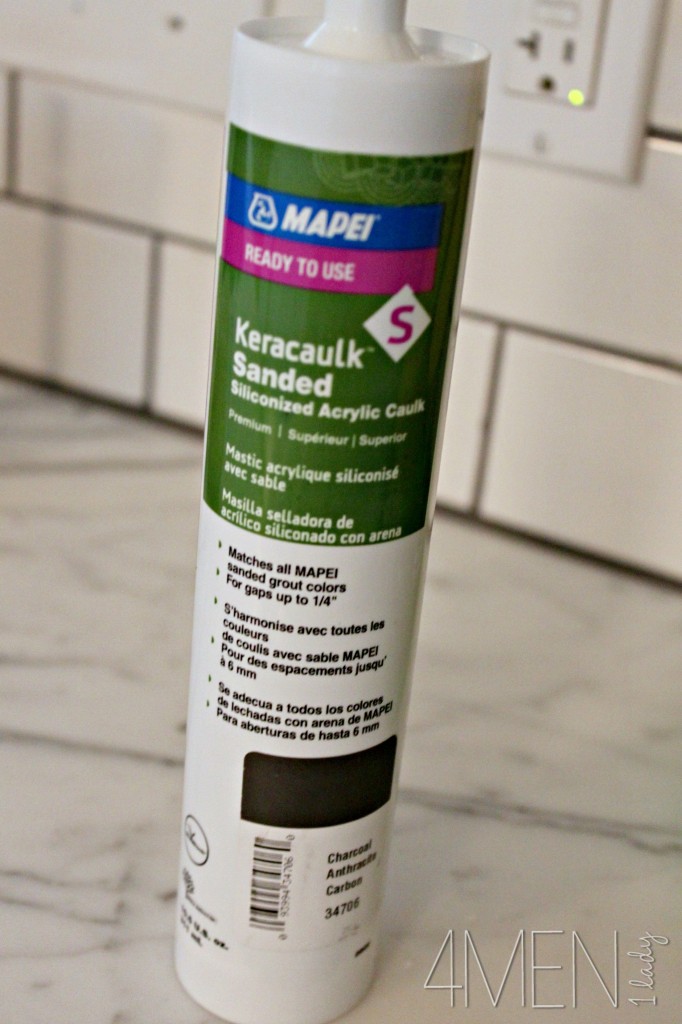
With it being spring break last week we had a very productive week around here regarding house projects. One of the projects we checked off our list was fixing the grout around our tub. I can’t figure out what in the world happened to the “before” pictures in my camera but they’re missing. If I had the picture to show, what you would have seen was a picture with big chunks of grout that have come loose and fallen out. What I didn’t realize is that you’re not supposed to use the same grout that is used everywhere else for the joint that goes between the tub and the tile that meets it. With three boys using that tub you can imagine there is a lot of horse play. Over time, that ever-so-slight movement of the tub will cause the grout to crack and break. So instead of using regular grout a better option is silicone based grout which offers a water seal and flexibility. (We also used this type of grout for the joint that meets our kitchen counter).
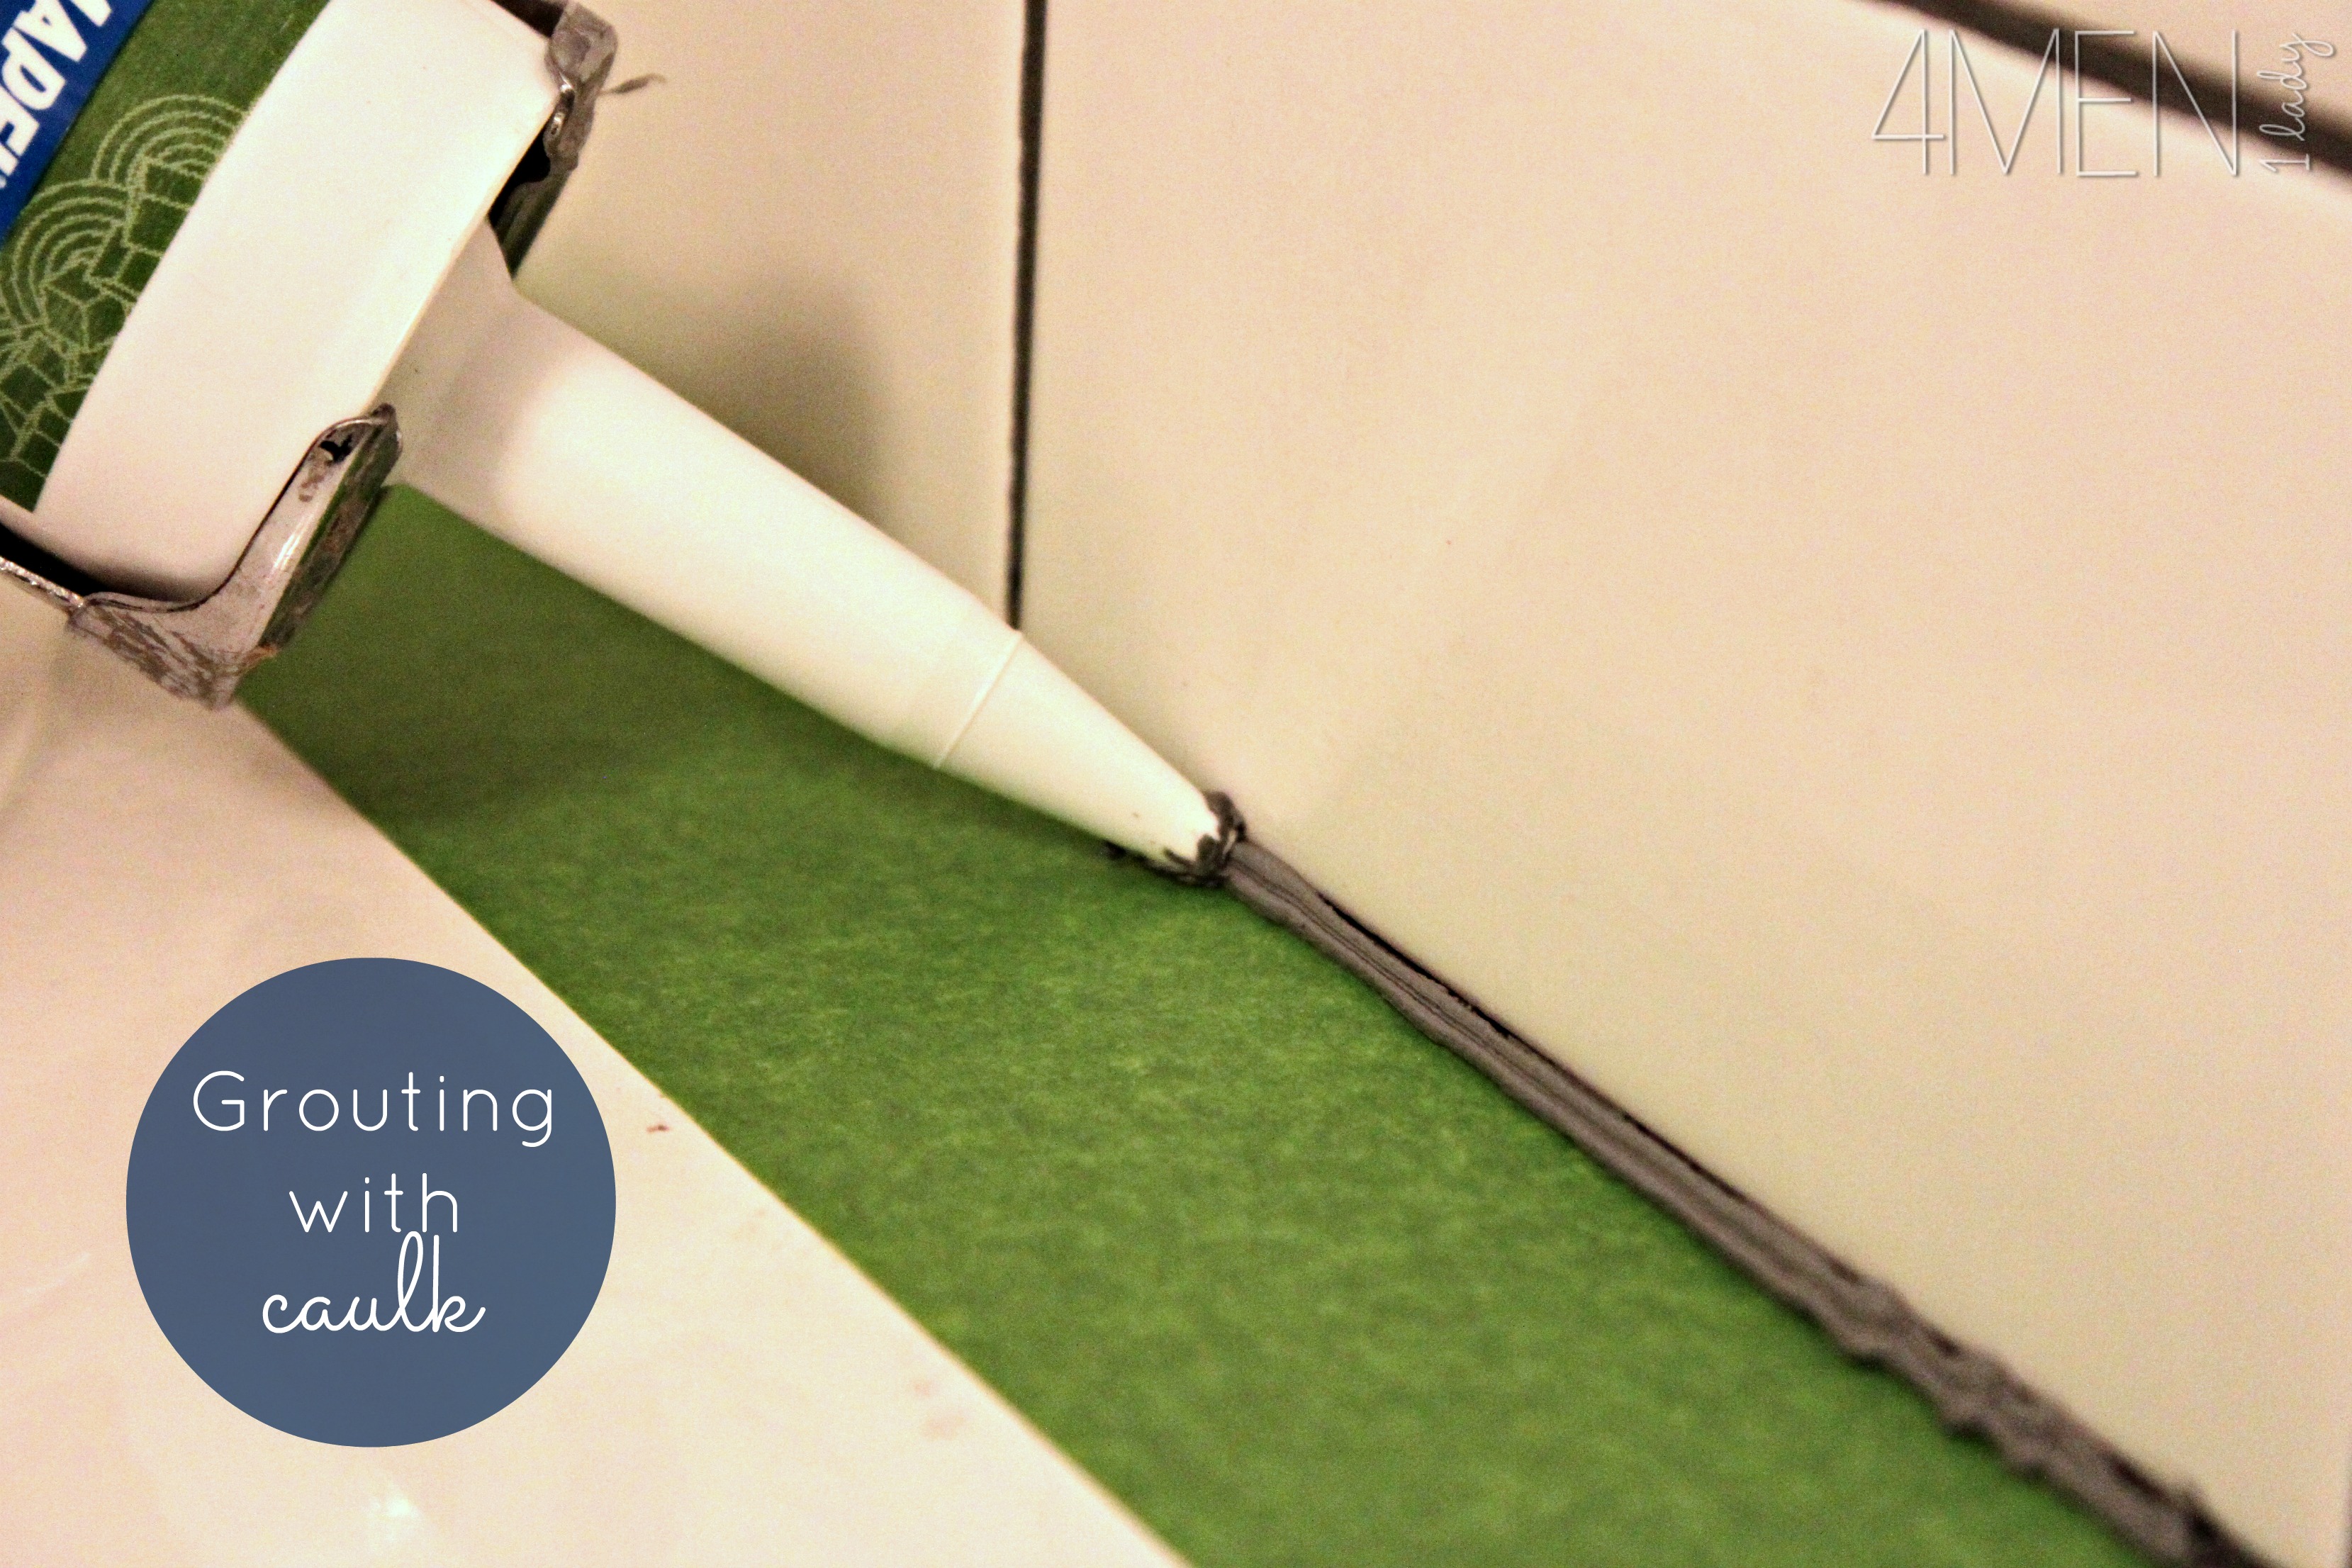
First, we started out by chipping out all the old grout. Remember we’re only doing this for the joint that meets the tub. Next we taped at the base of the tub to assure a clean grout line and no smearing. My favorite is Frog Tape because it won’t allow for bleeding under the tape.
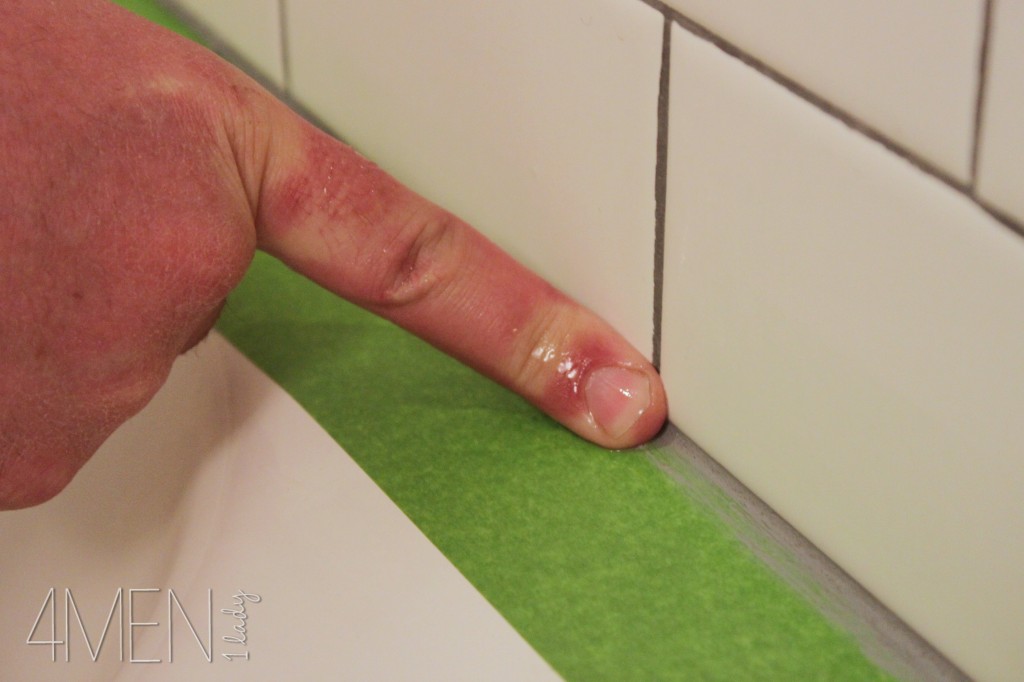
Once you’ve got a bead of grout, take a wet finger and pull it along the bead of grout. This will take off any excess as well as push the grout deep in to the joint.
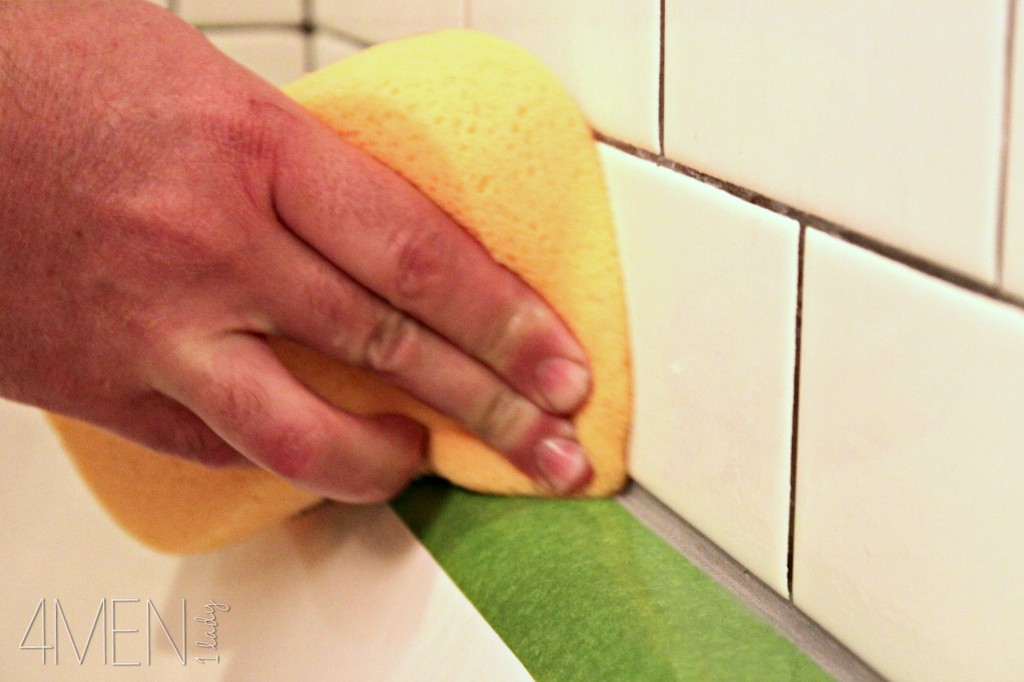
Next, use a wet sponge to go back over the seam one more time to clean up any smears that might have gone too high on the tile.
Let it sit for a minute or so then immediately pull off the tape. If you wait too long the silicone will dry and adhere to the tape then come right out of the joint when you pull off the tape.

Let it dry for at least 24 hour before use.
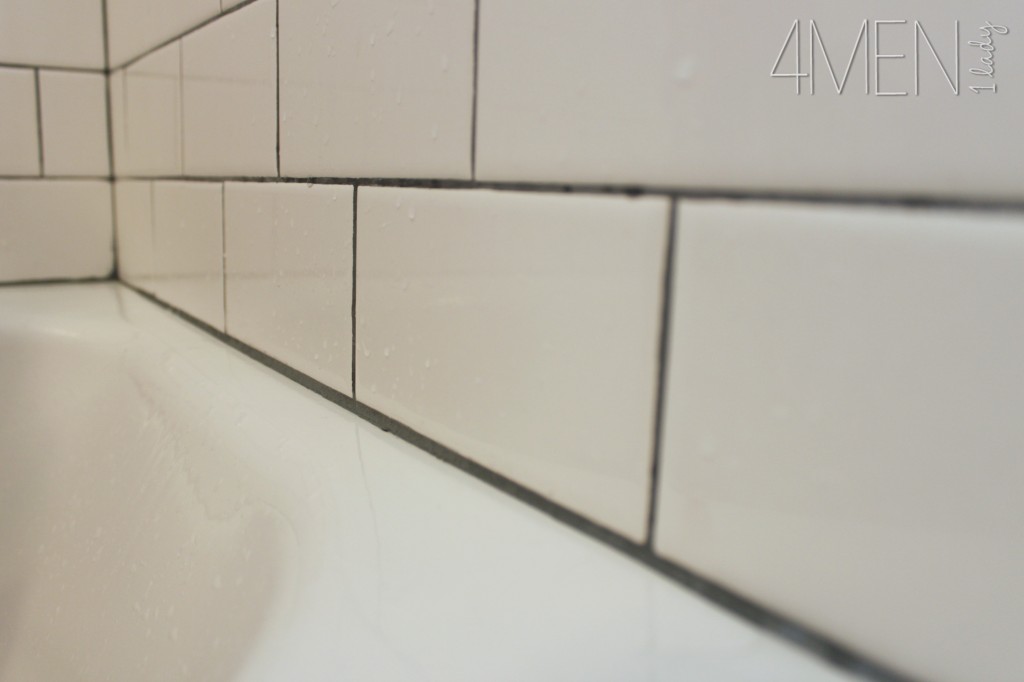
No more cracks and a clean seal.
While I’m on the topic of grouts…if you’ve ever grouted tile you may have found there are usually two options: sanded or unsanded. Sand is added to grout to minimize shrinkage. Unsanded grout is used when your tile has a polished surface such as marble or travertine and might scratch. When using unsanded grout your joint size should be 1/8th inch or less.
Now you’re an expert. Happy grouting!
To seem more pictures of our bathroom renovation, go here.


 Hey there! I’m Michelle; I’m an Passionate DIY’er and in constant pursuit of how to bring beauty to my house full of men (3 boys + 1 hubby). Stick around and see what I’ve got up my hard-working sleaves!
We will be tiling a backsplash for the first time this year and this is super helpful! Thanks 🙂 xo Kristin
awesome tips…and your new grout looks perfect.
Your new grout looks wonderful. Thanks for the great tips!
P/S: Come by and enter my current giveaway for a chance to win a stunning mural wallpaper (valued up to $500!) if you like!
http://www.mixandchic.com/2013/04/giveaway-murals-wallpaper-worth-up-to.html
Jessie
These are really good tips! I just found your blog, and I love it!! I really like the idea of the concealed cabinets and the pull out step stool in your bathroom. 🙂 So glad to see you’re on Instagram also! I’m off to explore some of your old posts now. 🙂
Thanks Lisa!
Thanks for the step by step how to. I may just get up the courage to do some ‘happy grouting’ one of these days.