
Running a business and raising a family has literally left me zero time to attend to myself, let alone any house projects.
Things are letting up a little bit which allowed me to give this wall a little makeover (plus 6 more all going at the same time).
You may remember this wall looked like this last week...
When we moved in 10 years ago we had these shelves added but that's about it. In fact it wouldn't surprise me if that white on the wall was actually just primer. I've alwasy
Search Results for: plank wall
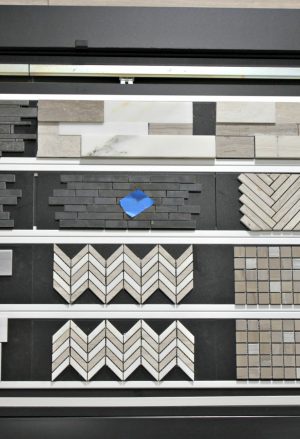
Floor and Decor.
This is a sponsored post written by myself.
Please excuse the radio silence for the past week.
We went on vacation and 2 of my little men picked up a crappy virus.
We've been laying low and having lots of cuddle time waiting it out.
Suffice it to say I've been going a little stir crazy.
I did get a small break and got to slip away to visit the Disneyland of flooring stores (aka Floor & Decor in Draper, UT).
This store popped up in the parking lot of Cowabunga Bay in Draper recently
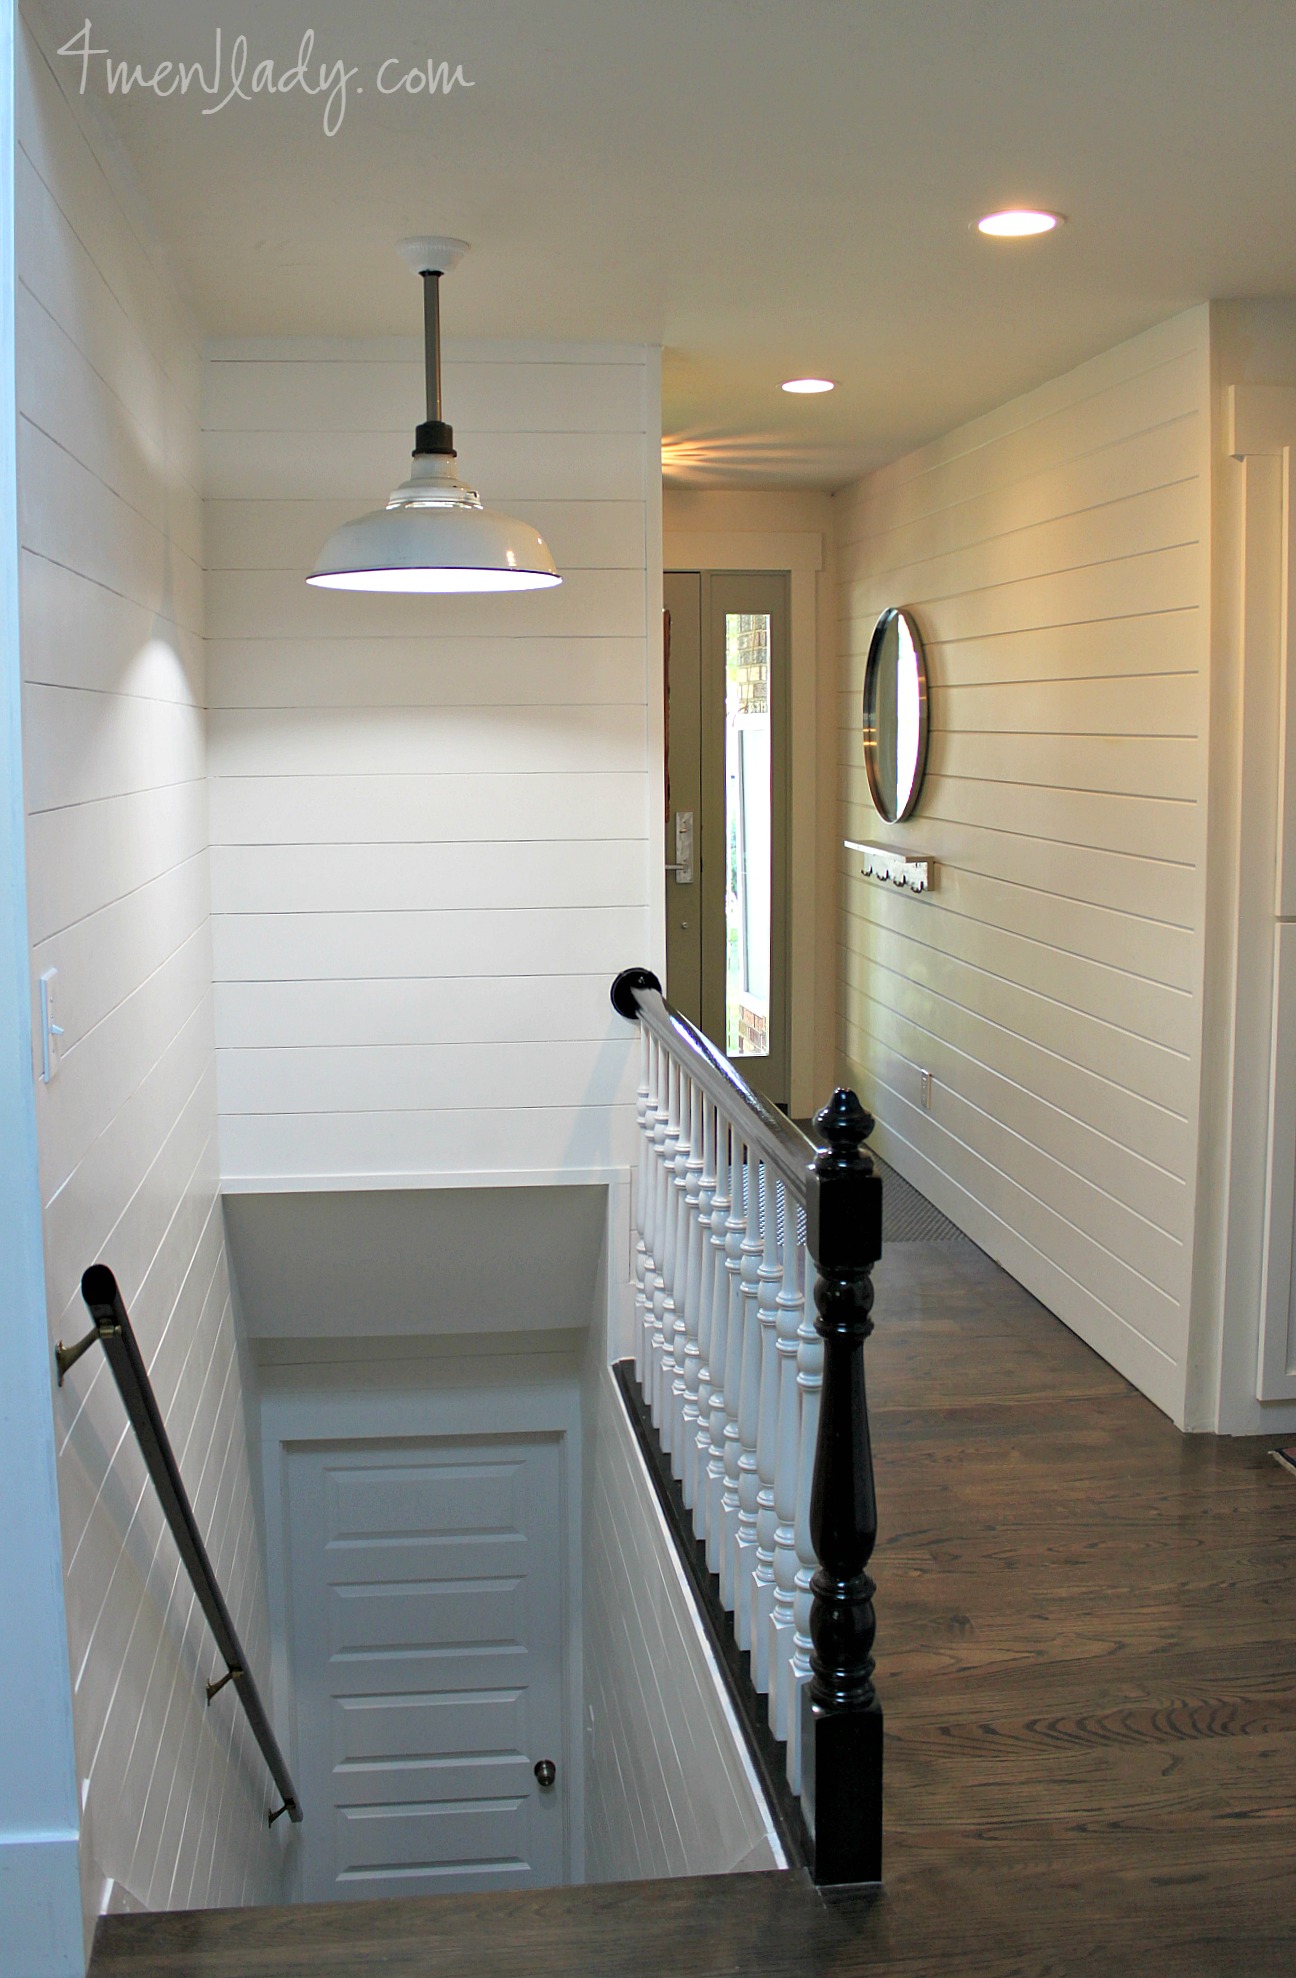
Vintage light fixture reveal with HomeAdvisor.
This is a sponsored post by HomeAdvisor written by myself. All thoughts and opinions are my own.
This poor stair wall has many identities over the past years.
But believe it or not, I think we may finally be done with this space (but don't hold me to that).
I posted about the installation of the planks (part 1, part 2) a couple of months ago thanks to some help finding a great carpenter through HomeAdvisor.
The space was almost complete but there was just one more thing that would take
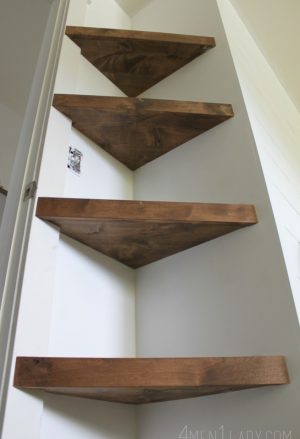
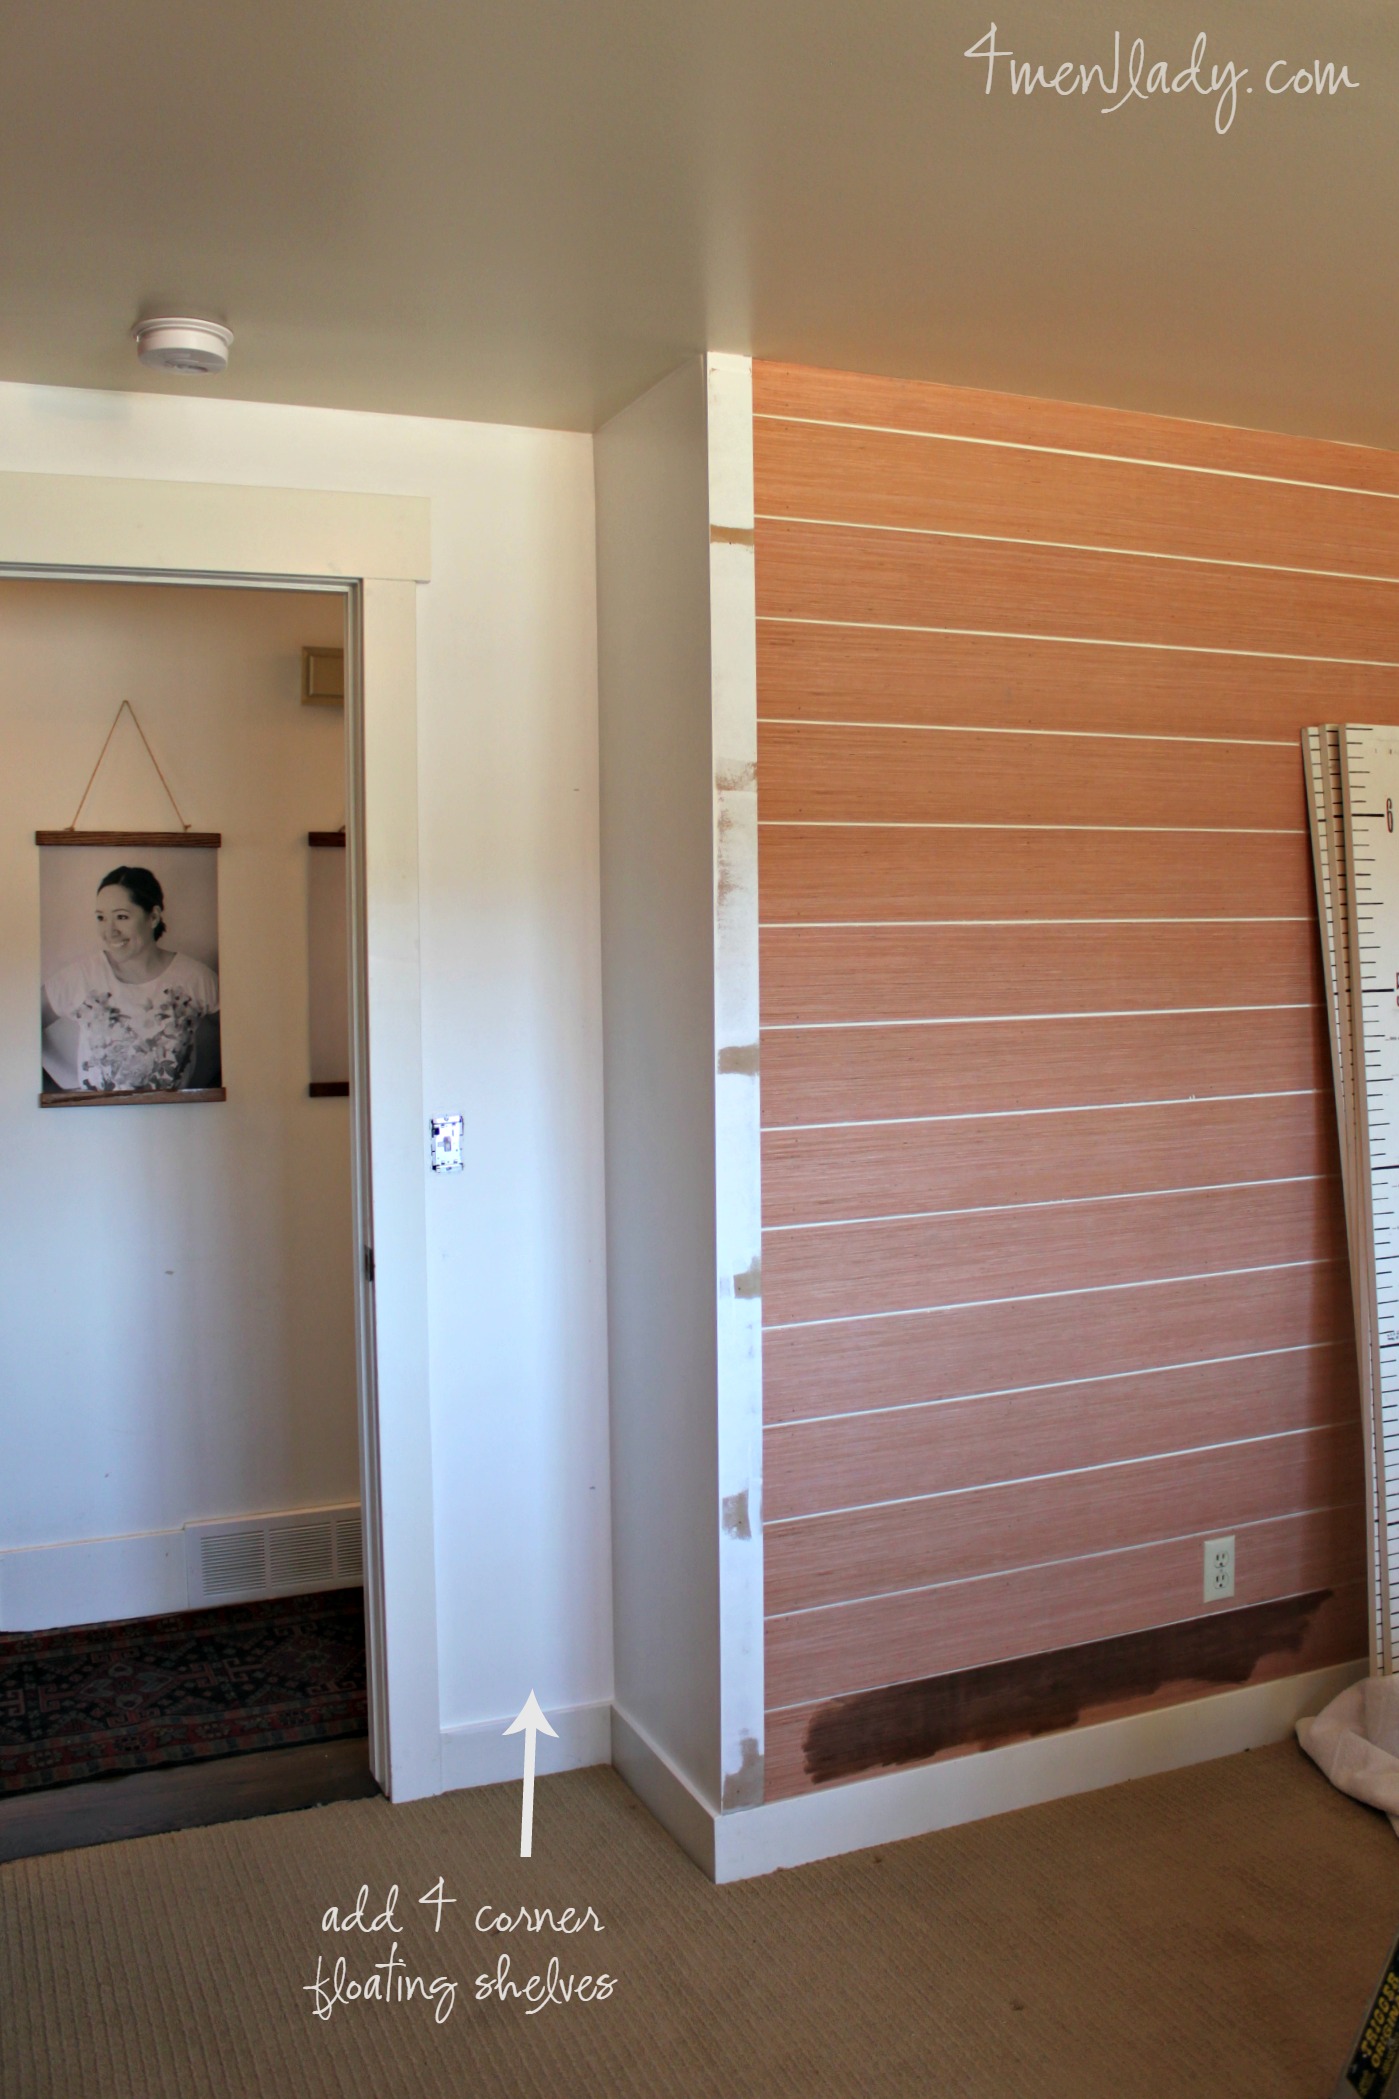
When Life Gives You Lemons…Make Corner Floating Shelves
We're making good progress with my oldest son's bedroom makeover.
Planks are up and painted, new closet doors have been ordered and I'm off to pick up some vintage school pieces I won at a school surplus auction tomorrow to decorate the room.
A linen closet on the other side of this wall is the reason there is this little jog of a space.
It's a really annoying pop-out. I almost wish they would have just made the linen closet bigger on the other side of the wall in order to keep the whole
Boys Bedroom Makeover Update.
We have a game of musical rooms going on at our house. The oldest two were sharing the bunk room. Then they got on each other's nerves. Soon they became territorial about toys, Dude Diary's and real estate. (I thought boys weren't supposed to get caught up in this kind of drama). The oldest moved out and started sleeping in the spare room (aka the junk room...it's kind of like a junk drawer but on a much larger scale).
Unfortantely I lost my junk room.
Fortunately I lost my junk
Painting the stair banister.
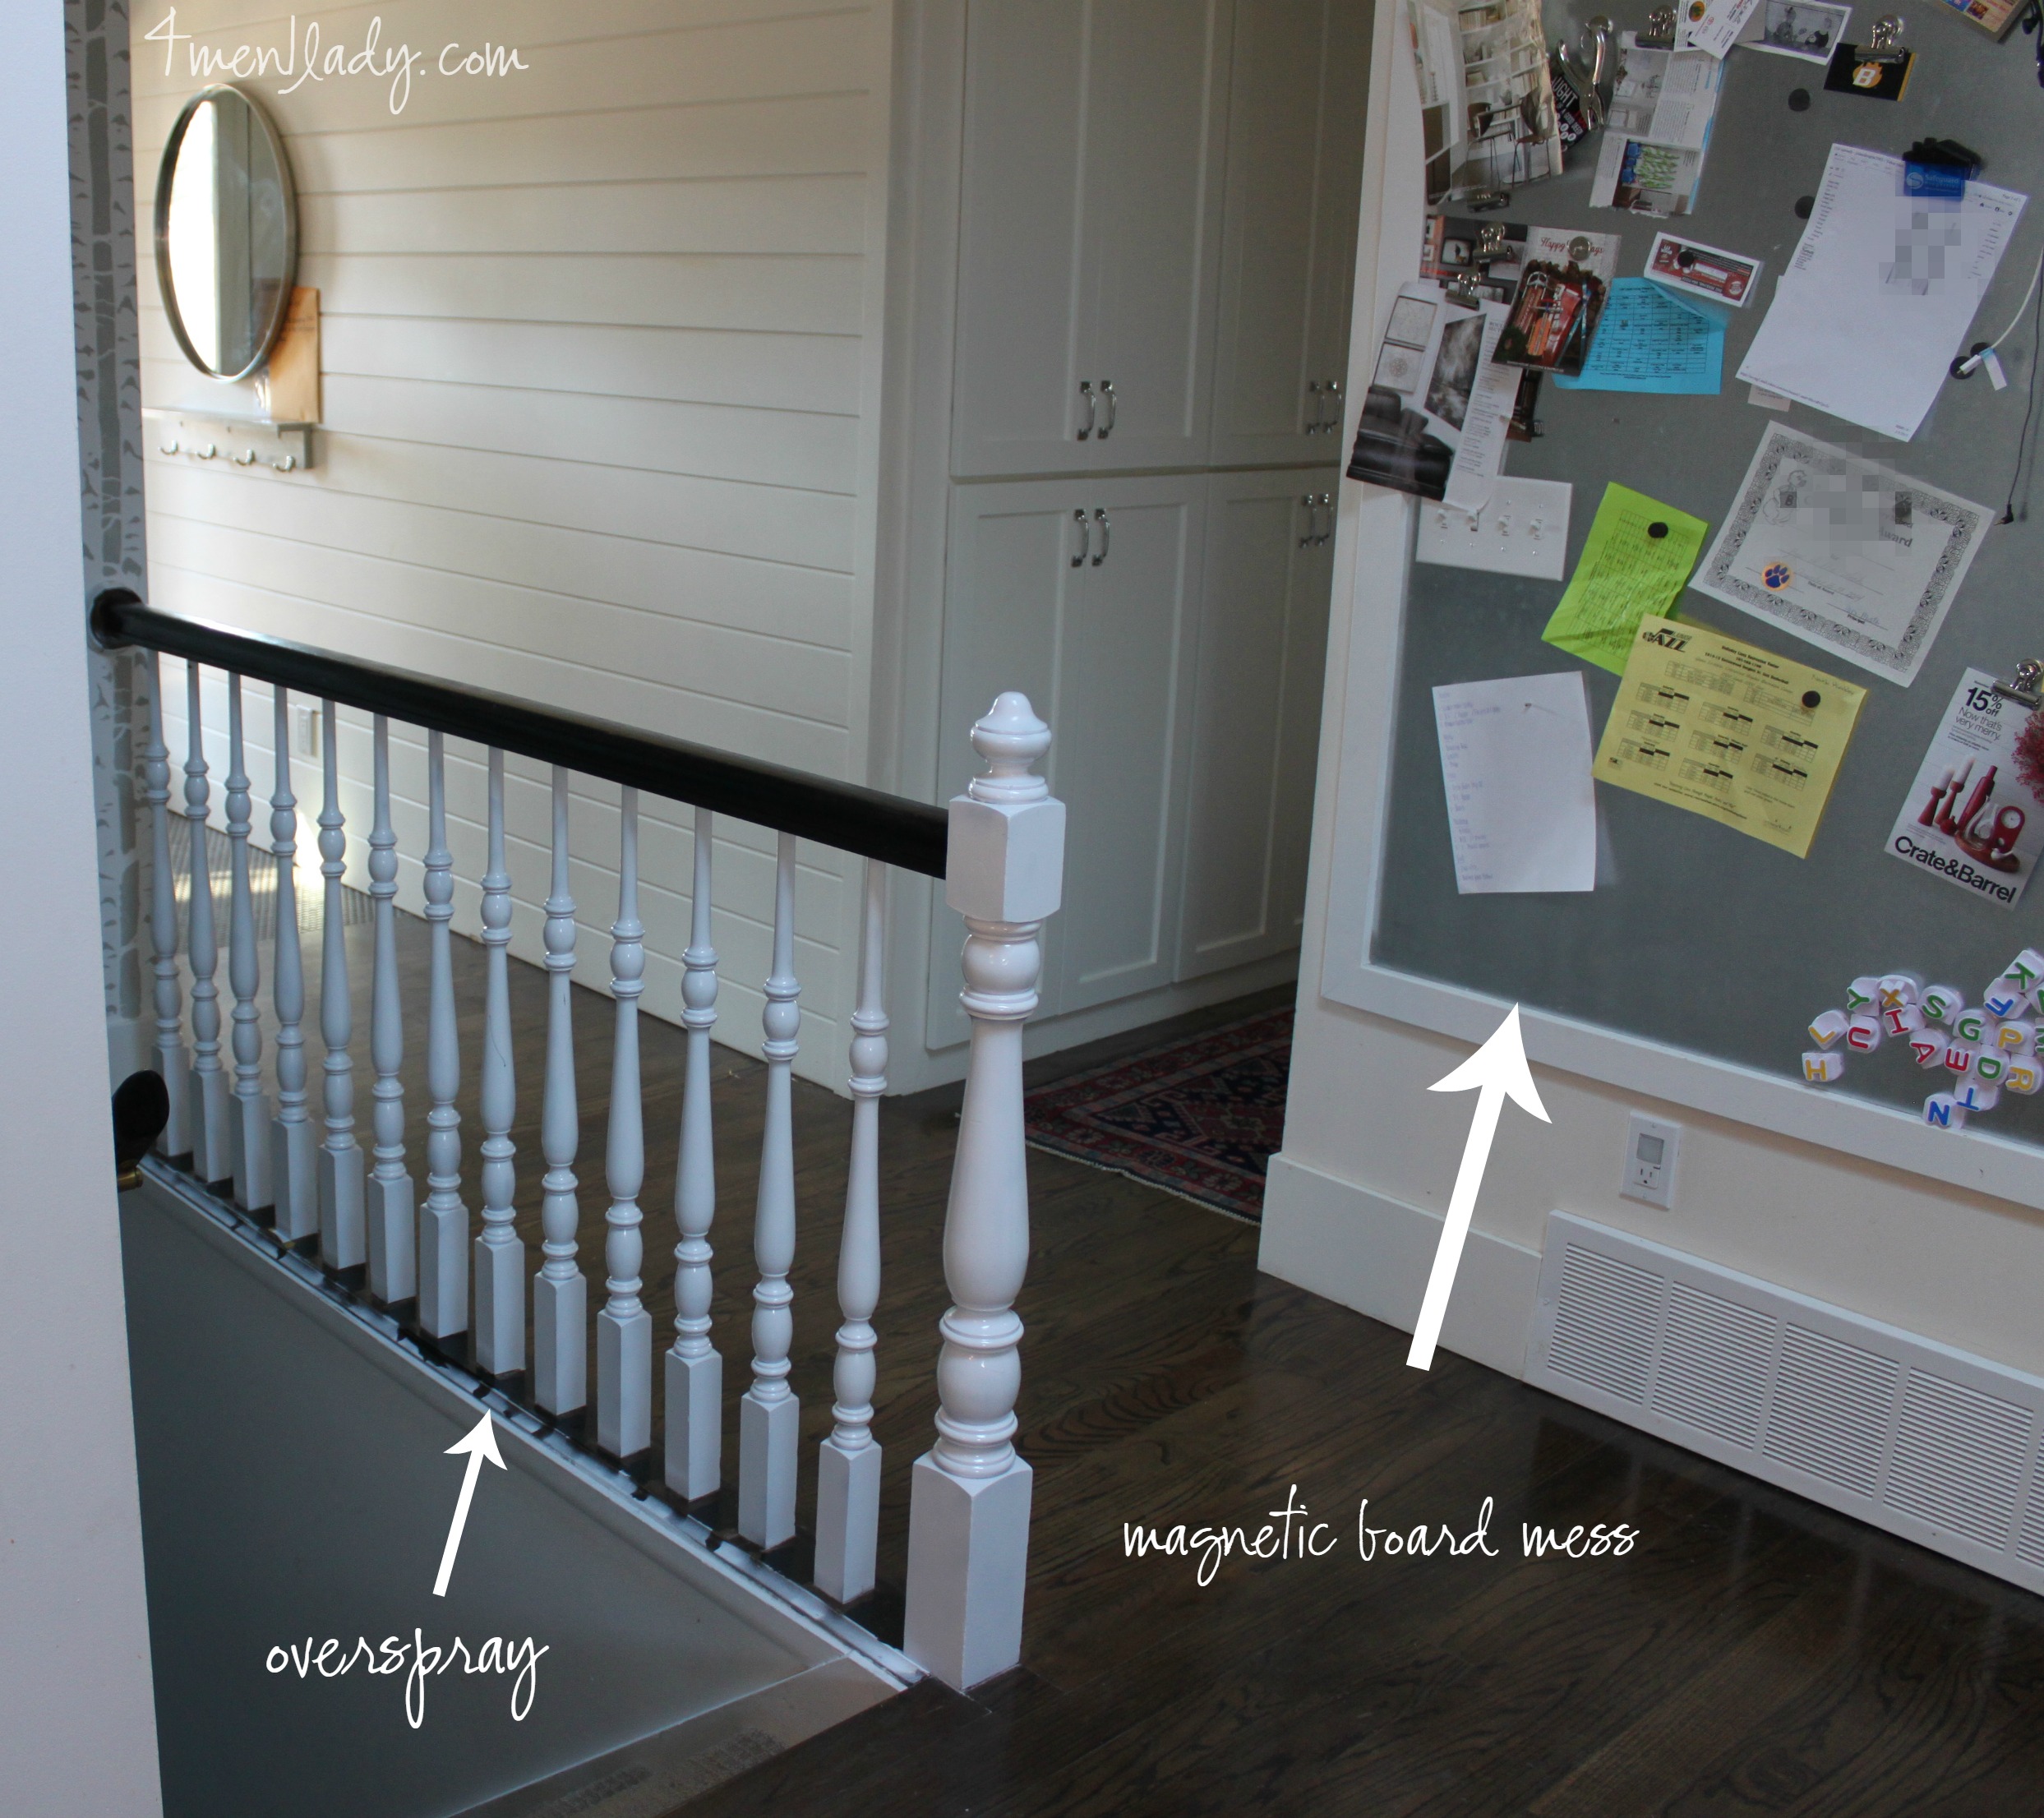
Post Christmas I typically go in to hibernation mode and try and survive the rest of the cold, dark winter. However, winter in the west has felt more like spring. Today I went out and watered the tulips that have started to grow. I know, right!? Our dry state desperately needs to the snow but it's hard to curse the sun. As a result I've come out of hibernation a bit early and am feeling an extra pang to get started on some spring cleaning and creative projects.
My first "out-of-hibernation"
 Hey there! I’m Michelle; I’m an Passionate DIY’er and in constant pursuit of how to bring beauty to my house full of men (3 boys + 1 hubby). Stick around and see what I’ve got up my hard-working sleaves!