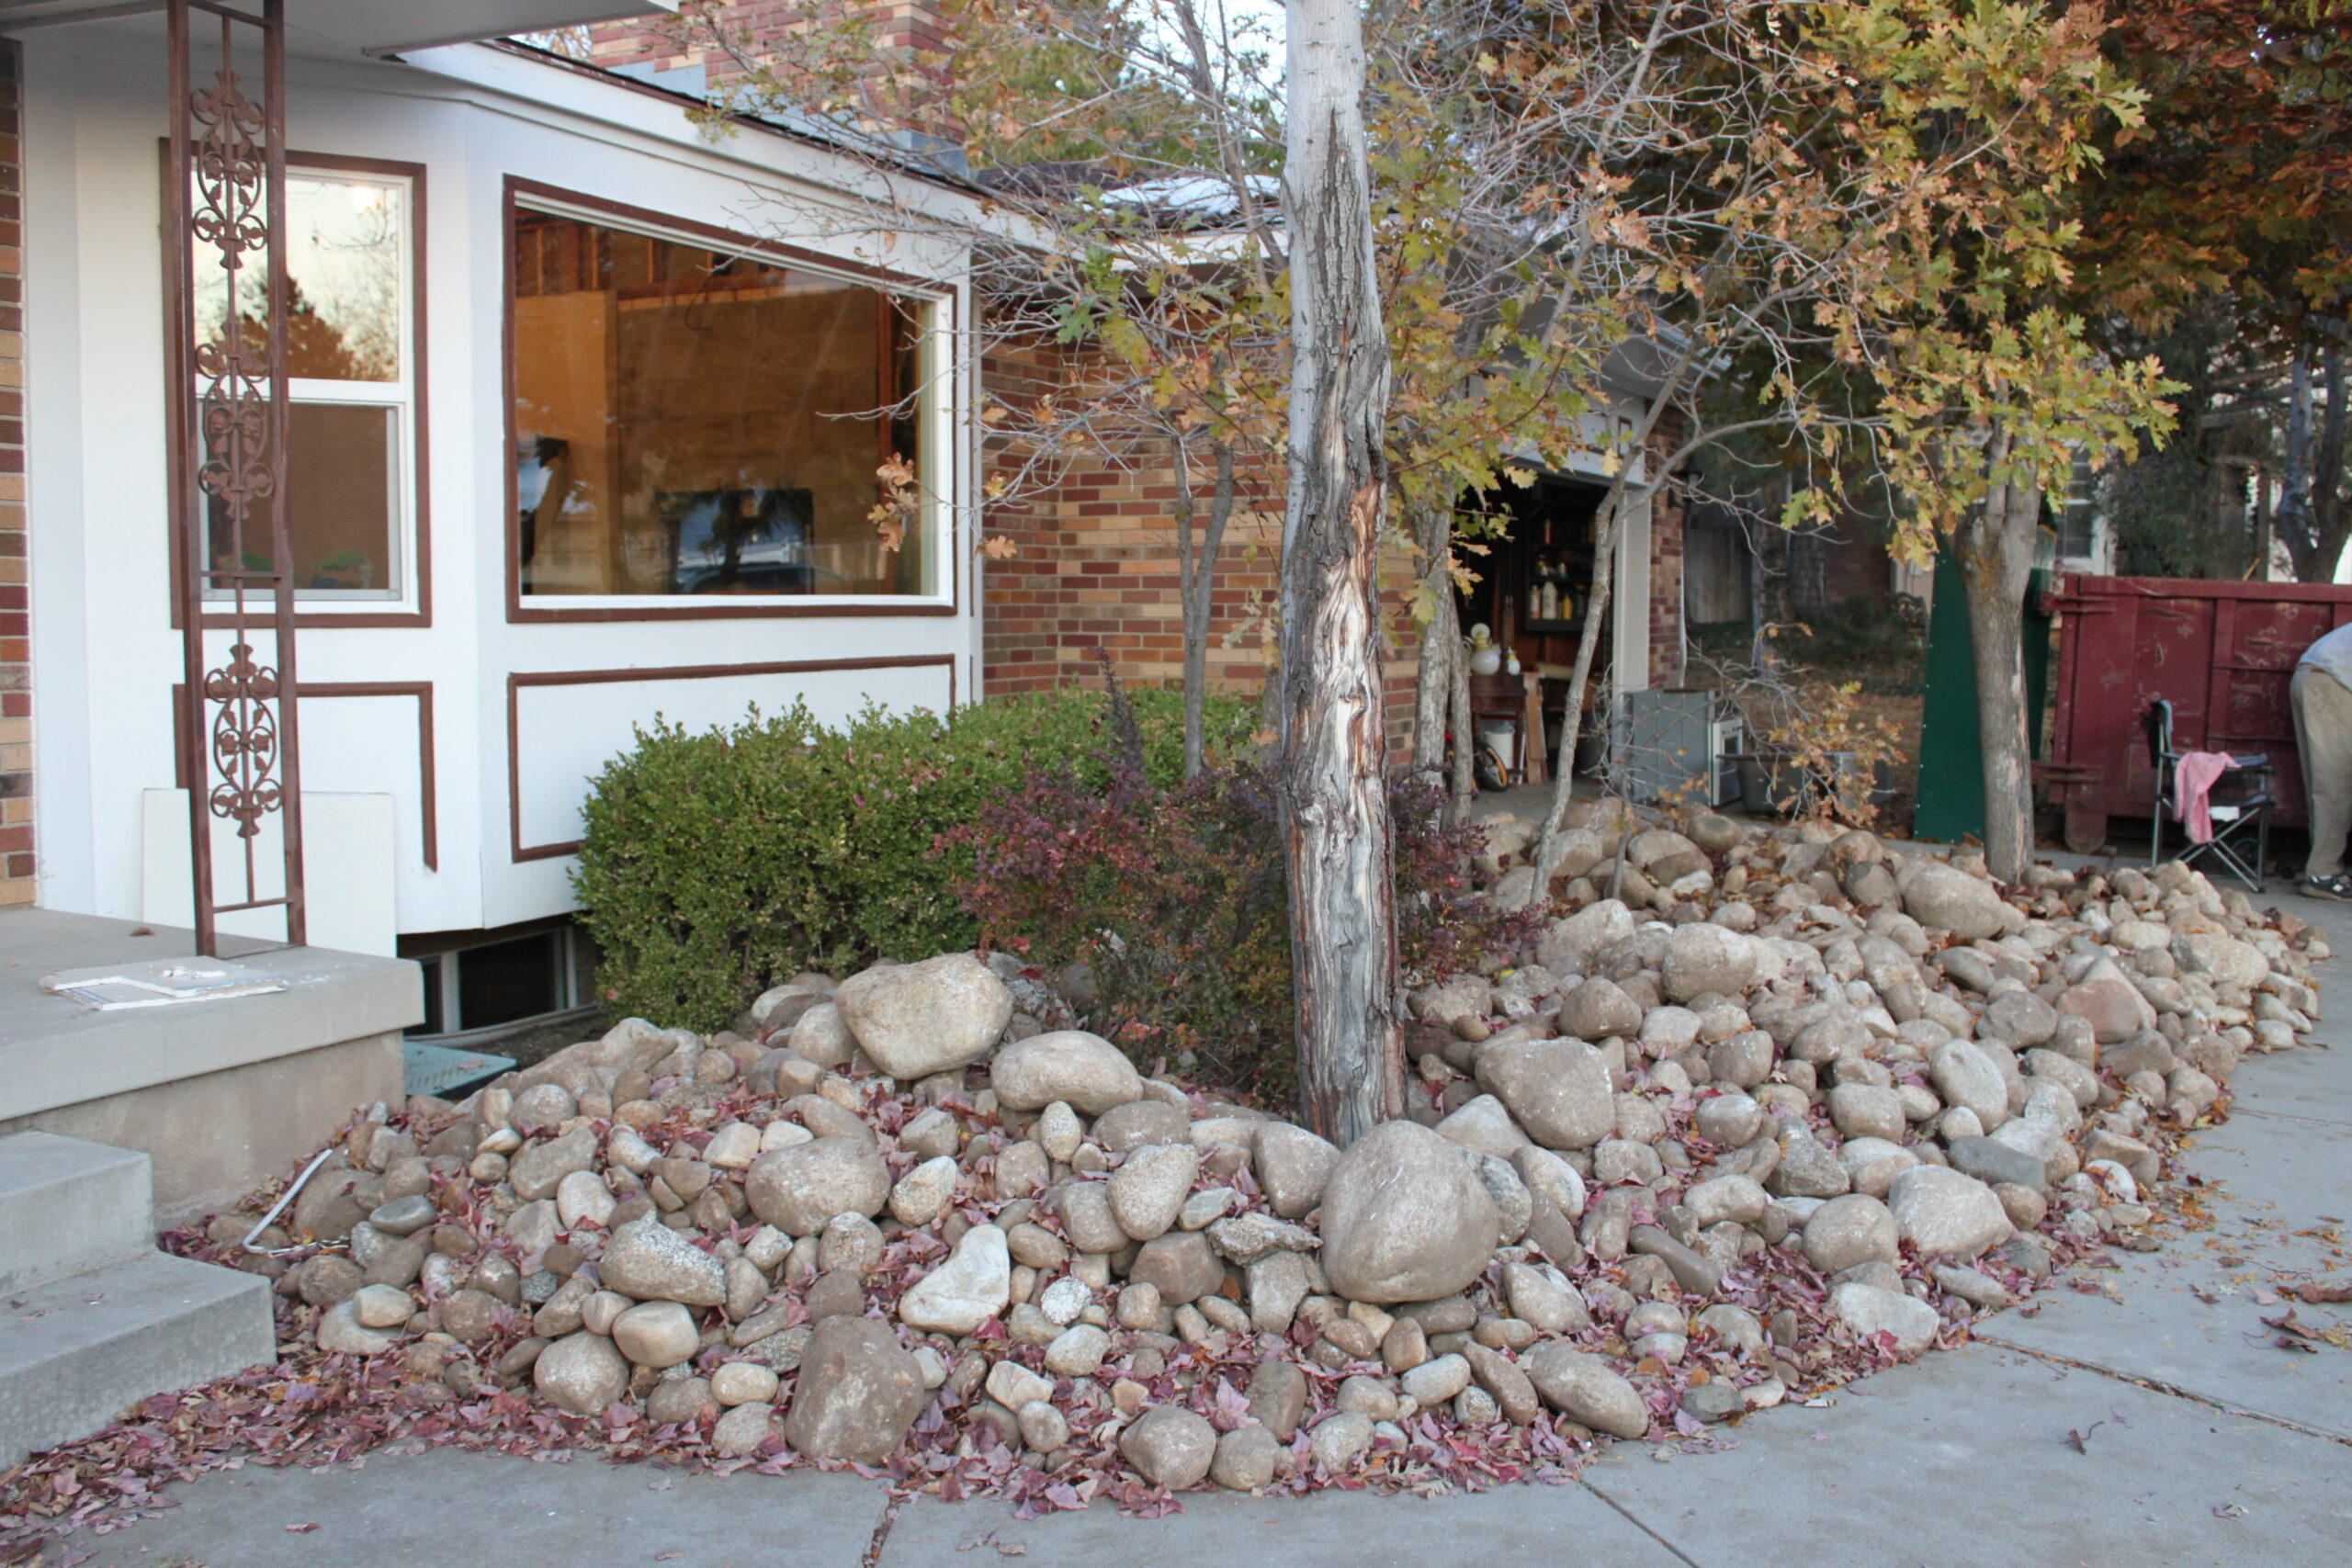
We did a thing. A thing we've been talking about doing for 10 years. We finally did it. Like actually. Check out our house 12 years ago when we first moved in...
Painting the exterior brick has been on the to do-list for a while now. We
a lifestyle blog about the persuit of bringing beauty to a house full of men.

We did a thing. A thing we've been talking about doing for 10 years. We finally did it. Like actually. Check out our house 12 years ago when we first moved in...
Painting the exterior brick has been on the to do-list for a while now. We
When sweet Melissa from 320 Sycamore invited me to participate in her Favorite Things 2020 Blog Hop I jumped at the opportunity. Reading what other people's favorite things are is always so helpful to know what's worth having. So here we
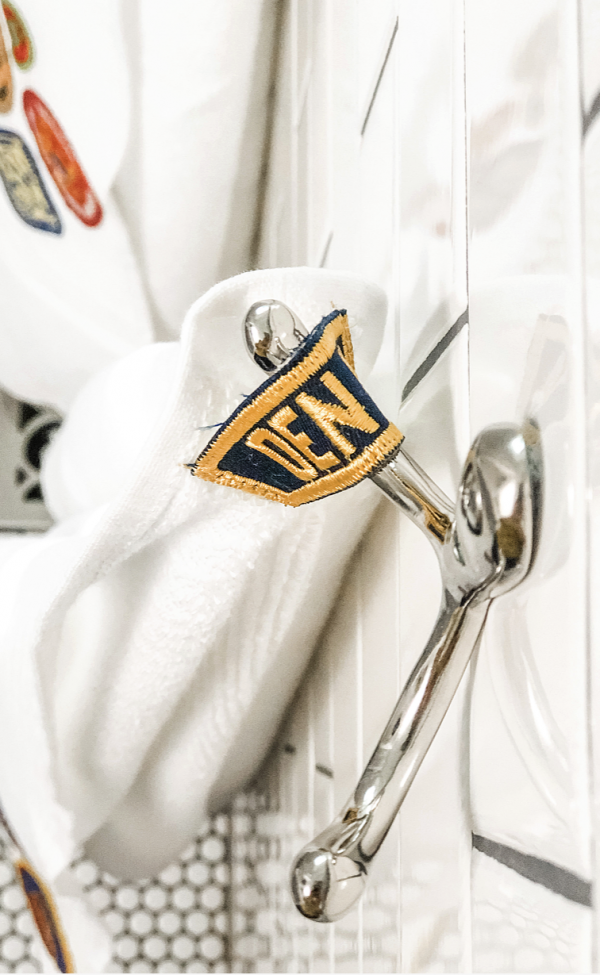
A few years ago I scored a huge lot of vintage Boy Scout Badges. I put them in a drawer and forgot about them until I was looking for something the other day and found them stashed away.
Being as I live with 3 former boy scouts I knew they
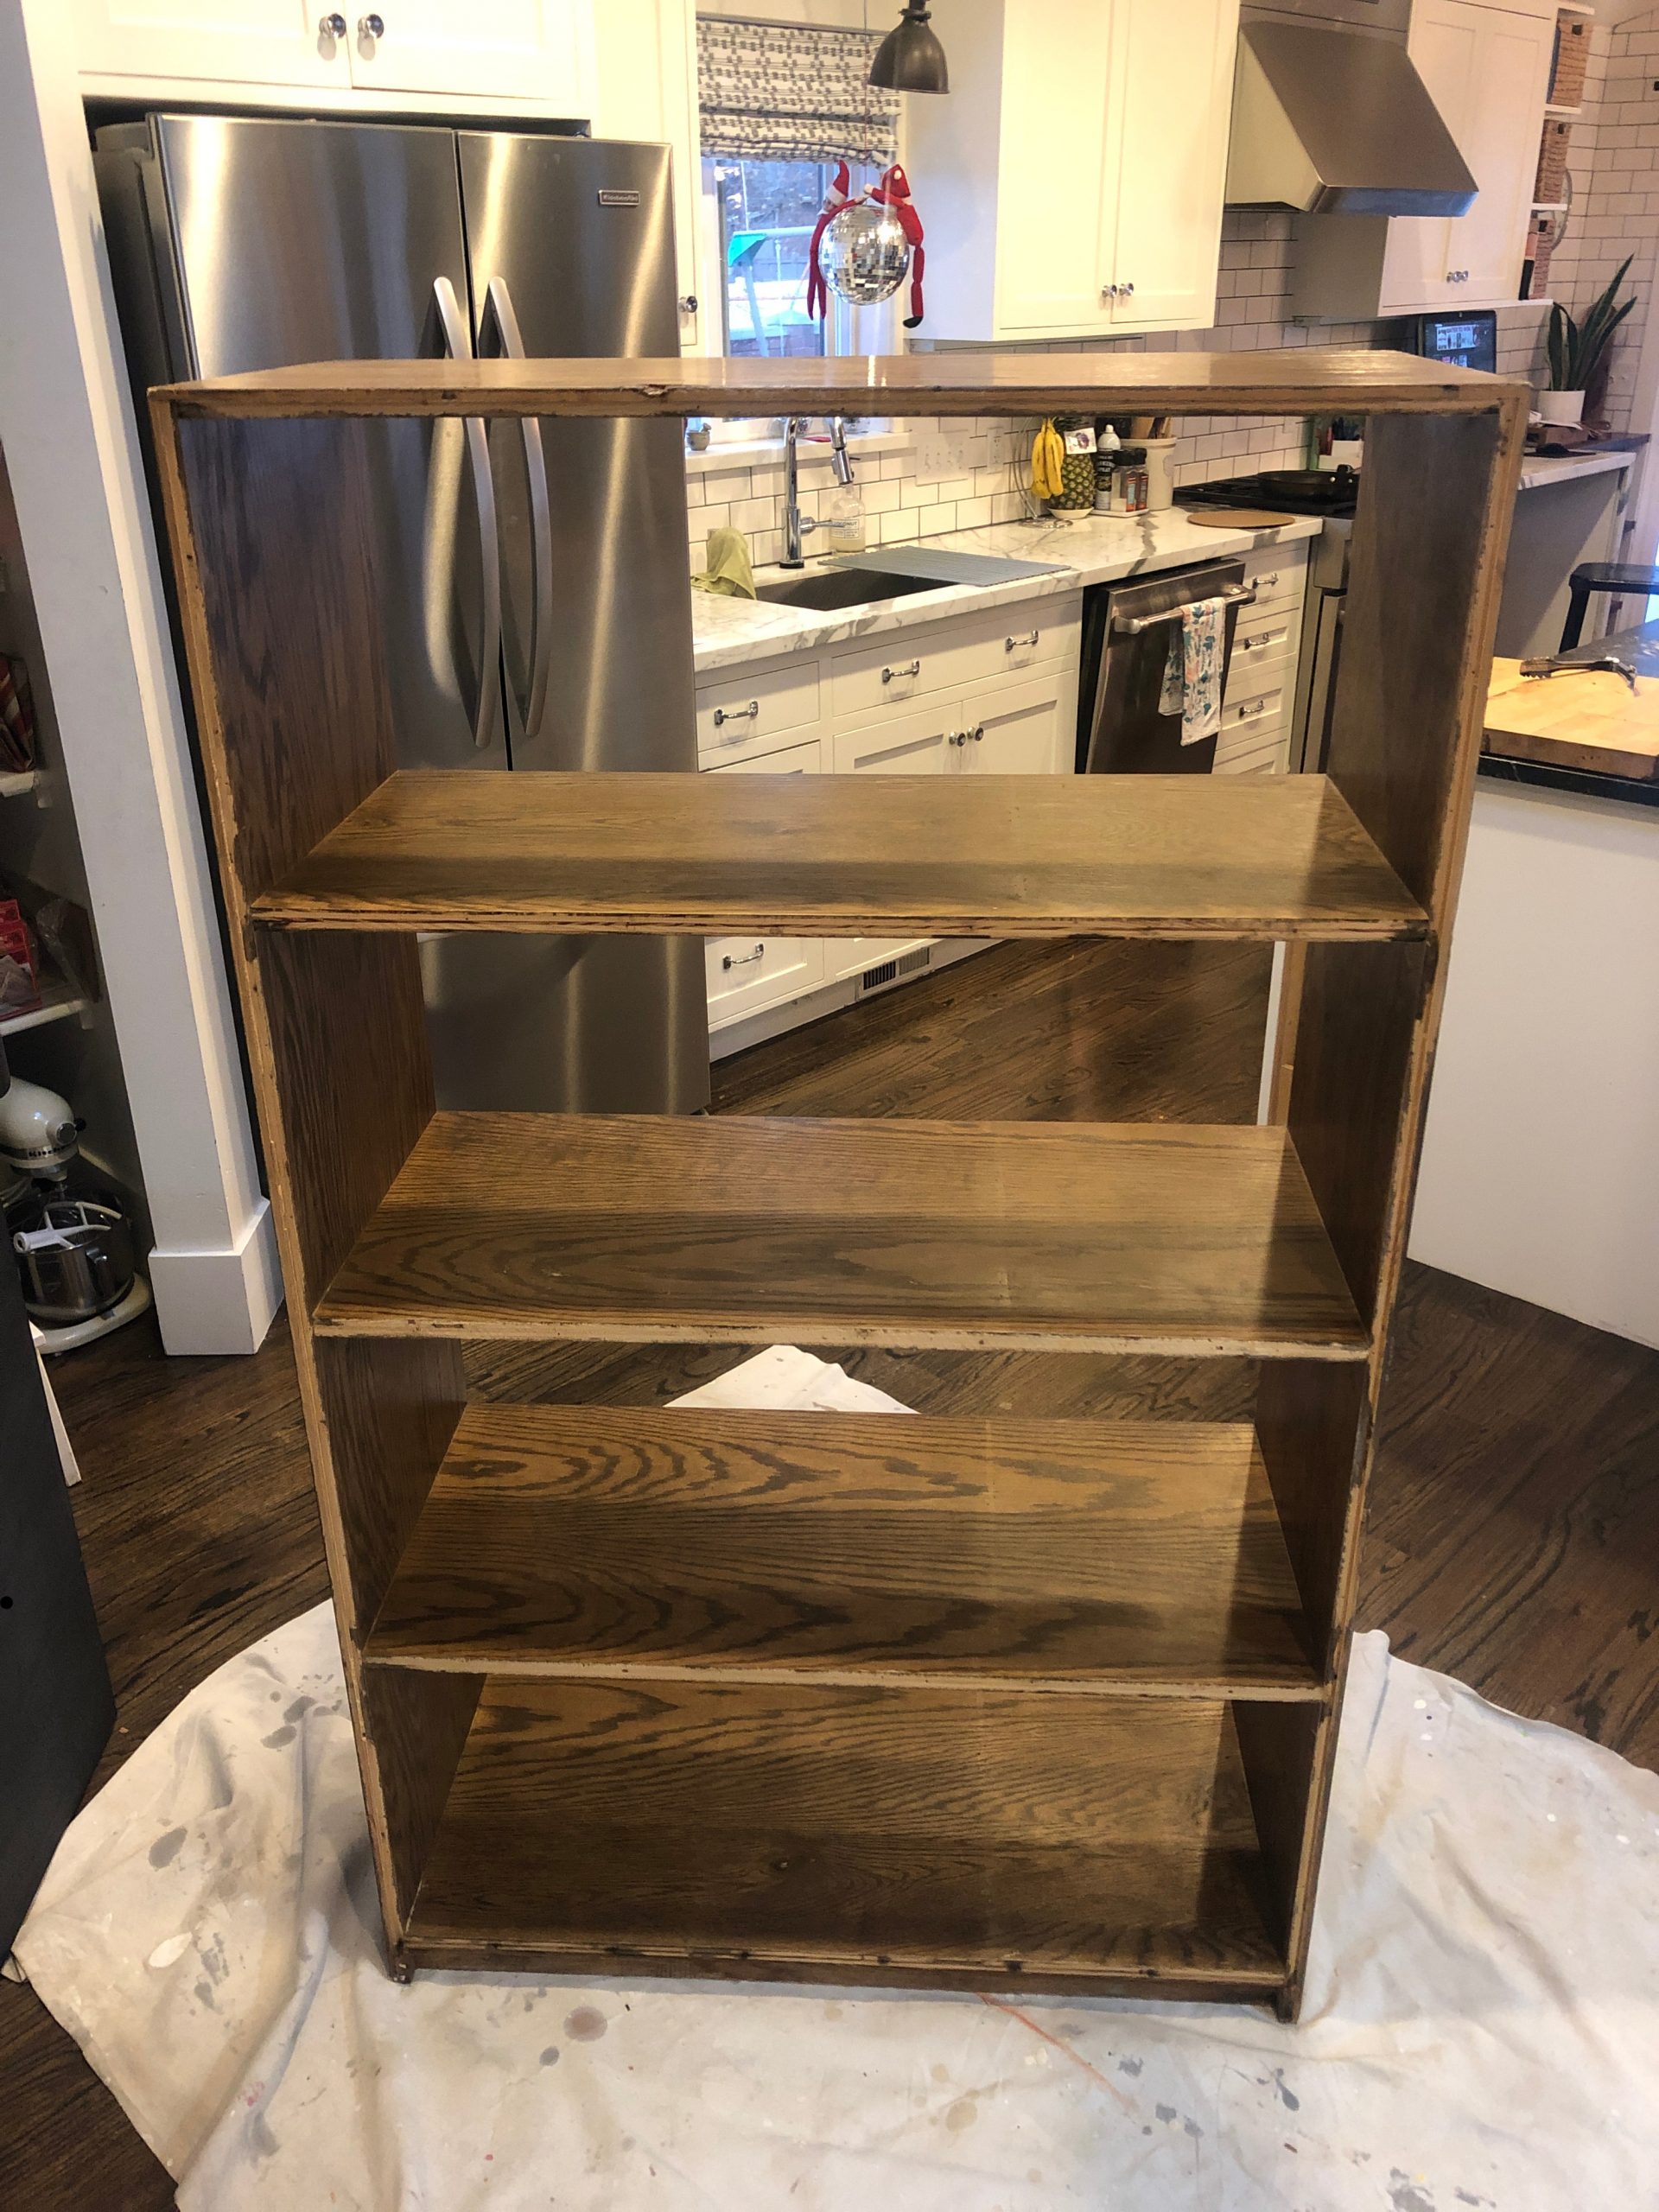
This post is sponsored by KILZ® Brand but the content and opinions expressed here are my own. Read my full disclosure policy here.
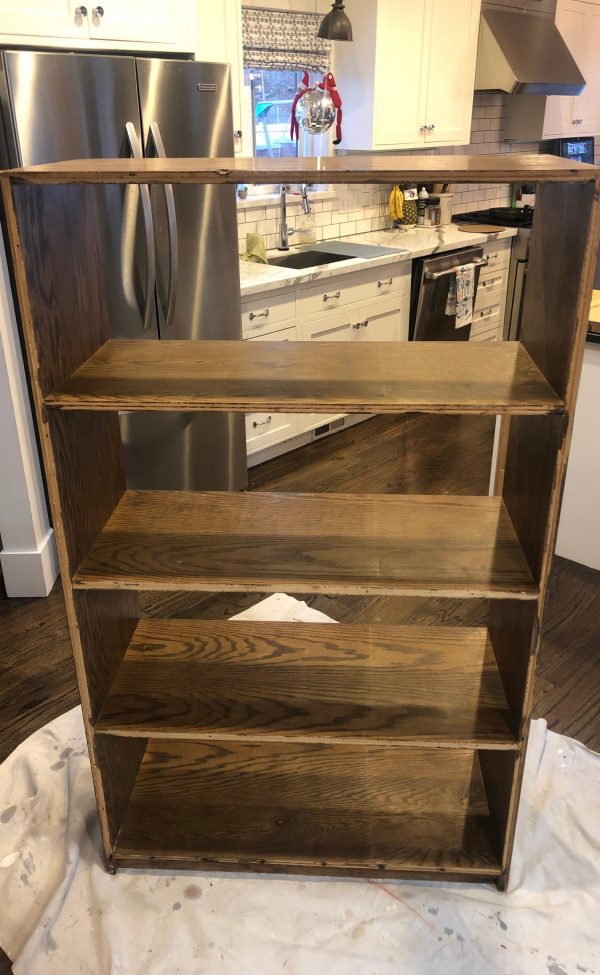
If you've been following me over the past 10 years you know I love me a good DIY furniture refinishing project.
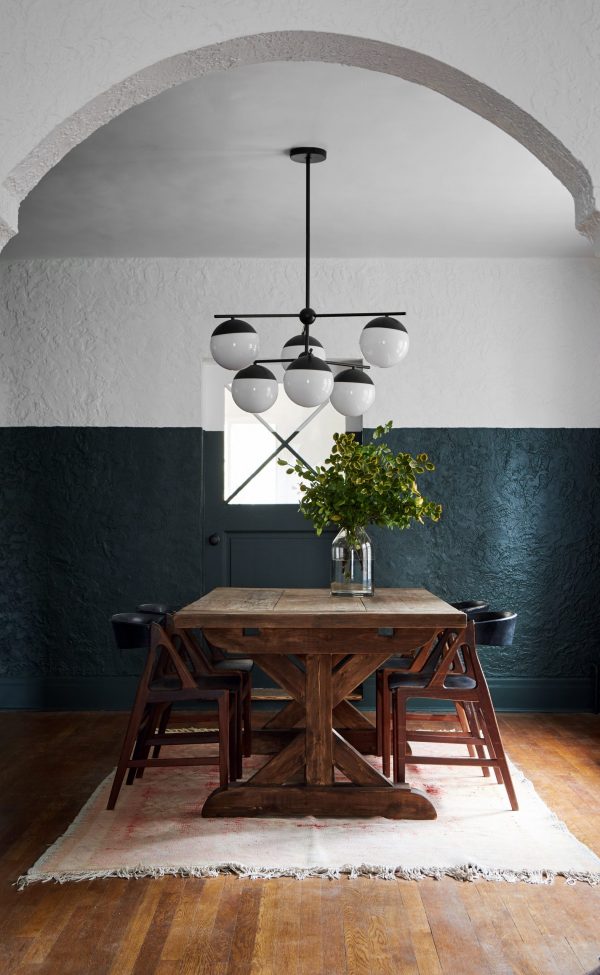
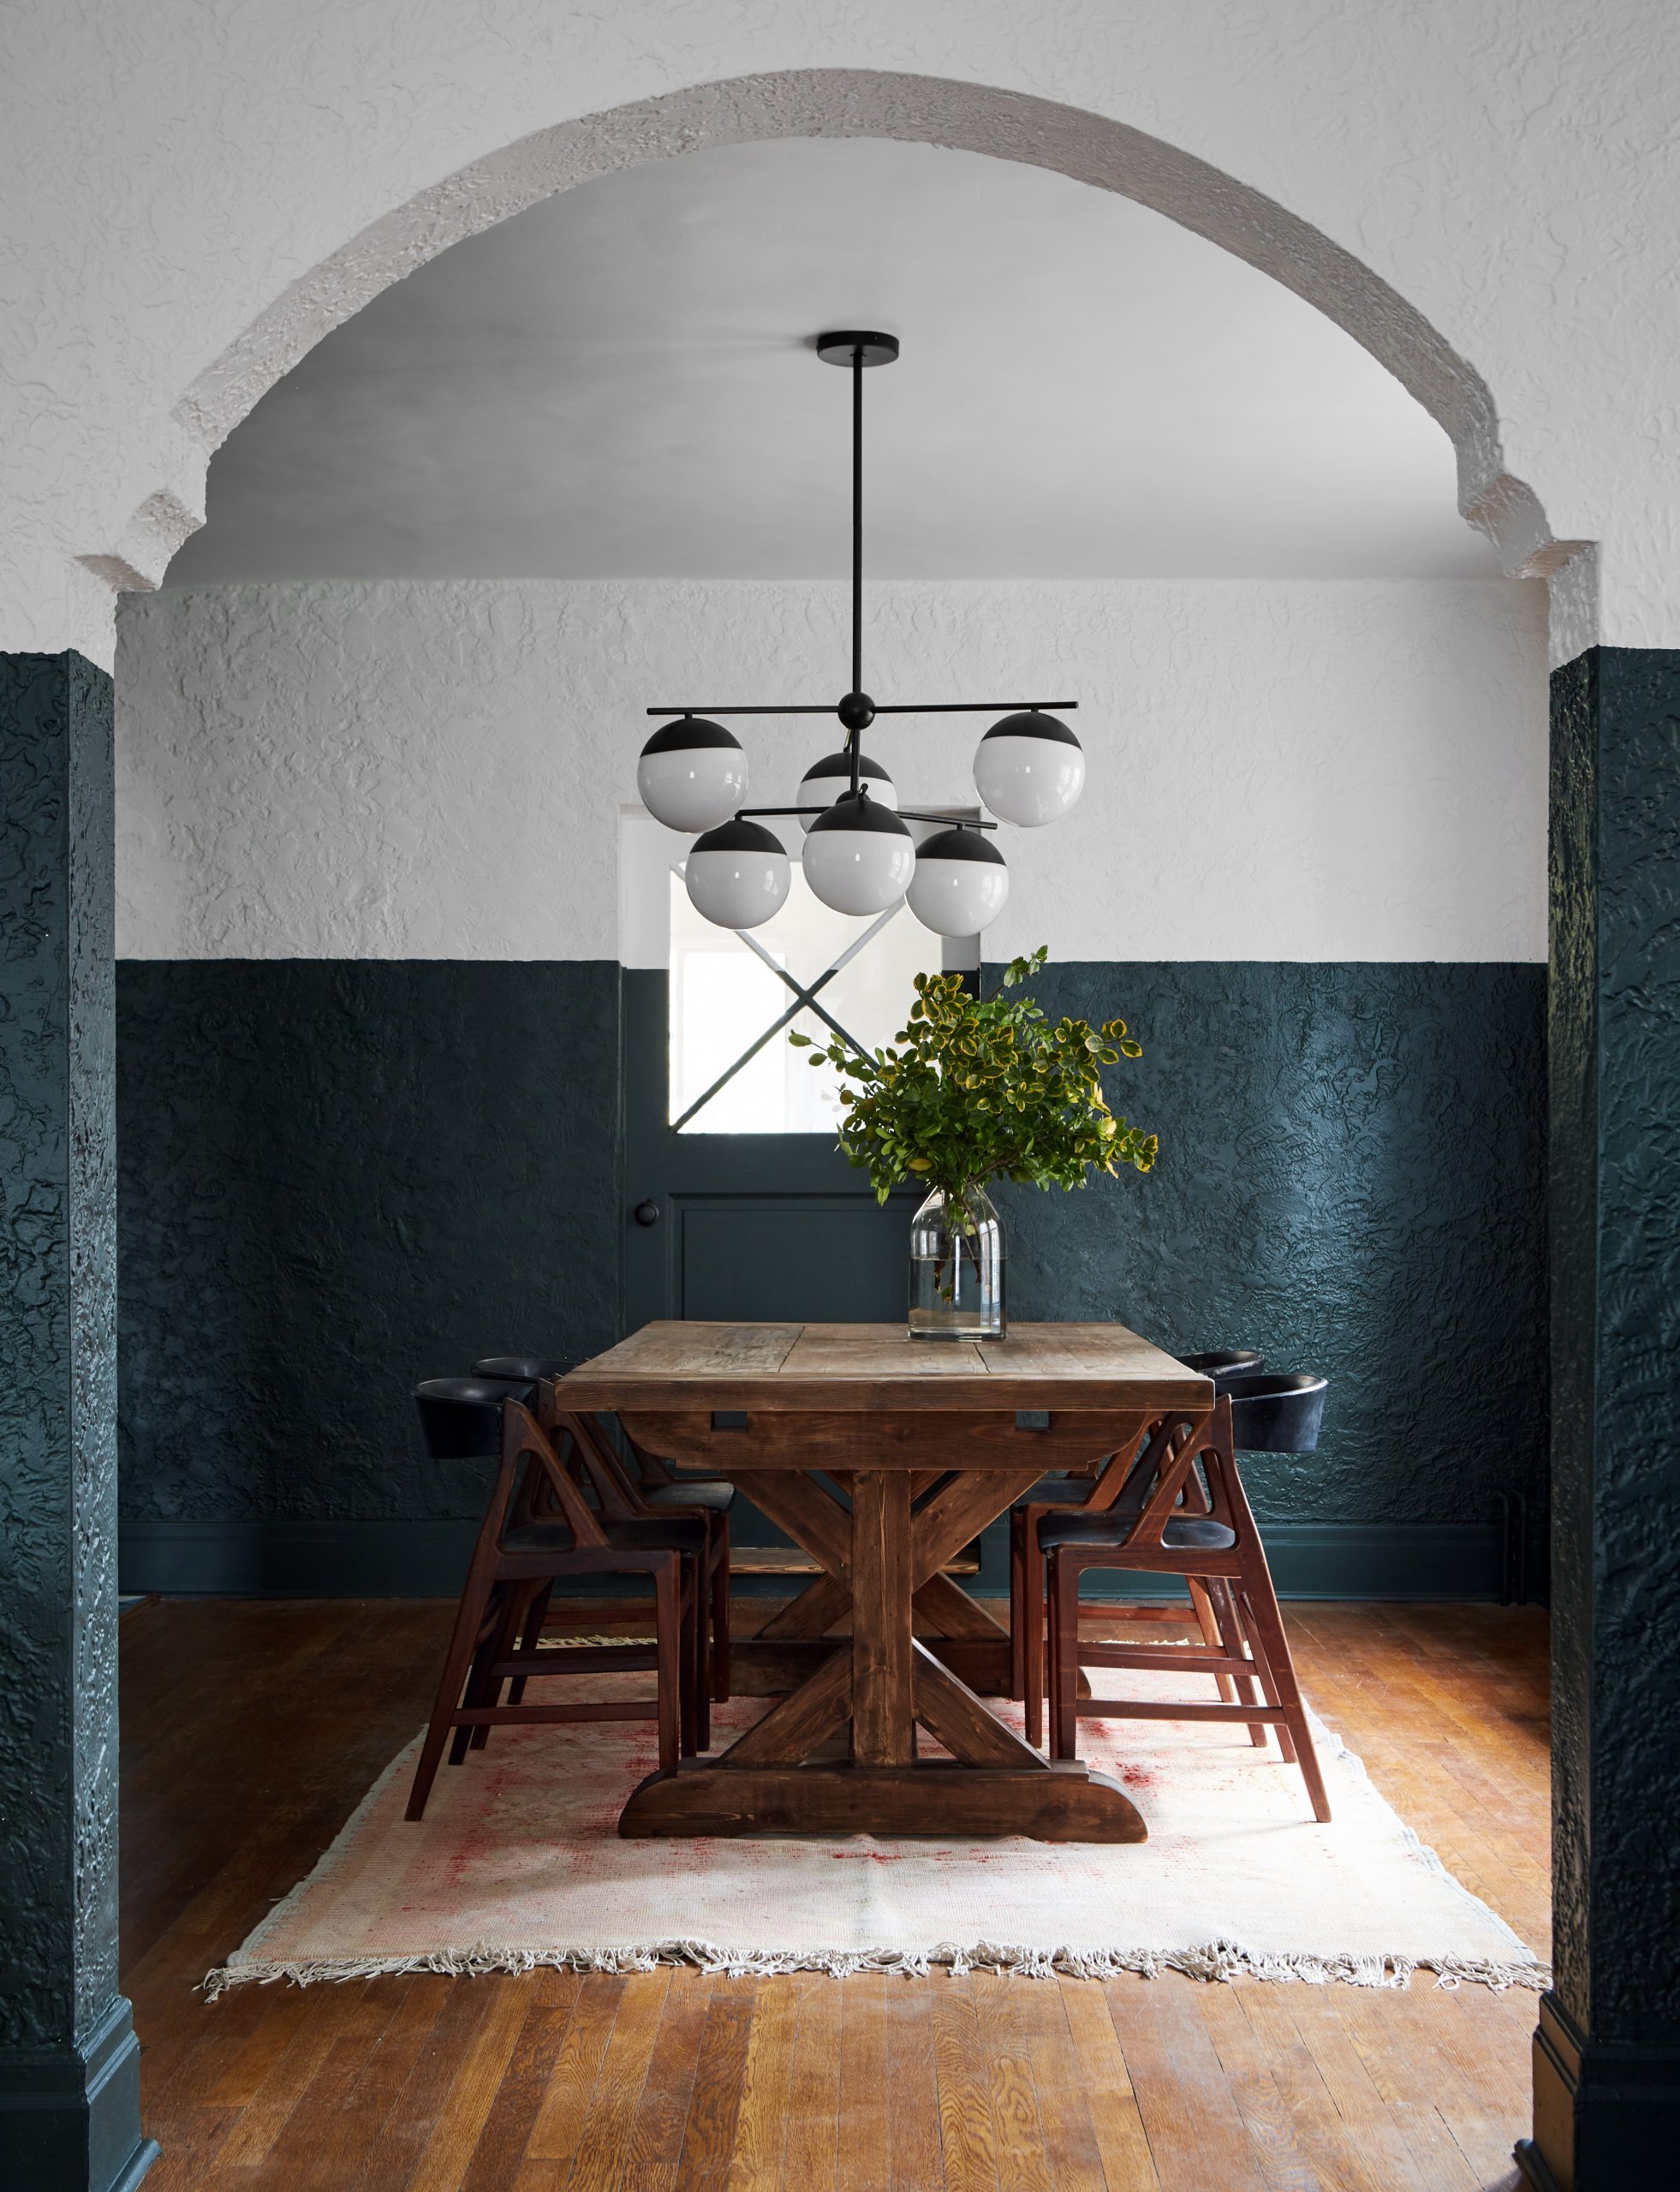
I recently had the opportunity to interview the amazingly talented HGTV designer, Leanne Ford. I have followed Leanne from the get-go and respect her design eye tremendously.
What I admire about Leanne's work is that she isn't one of those
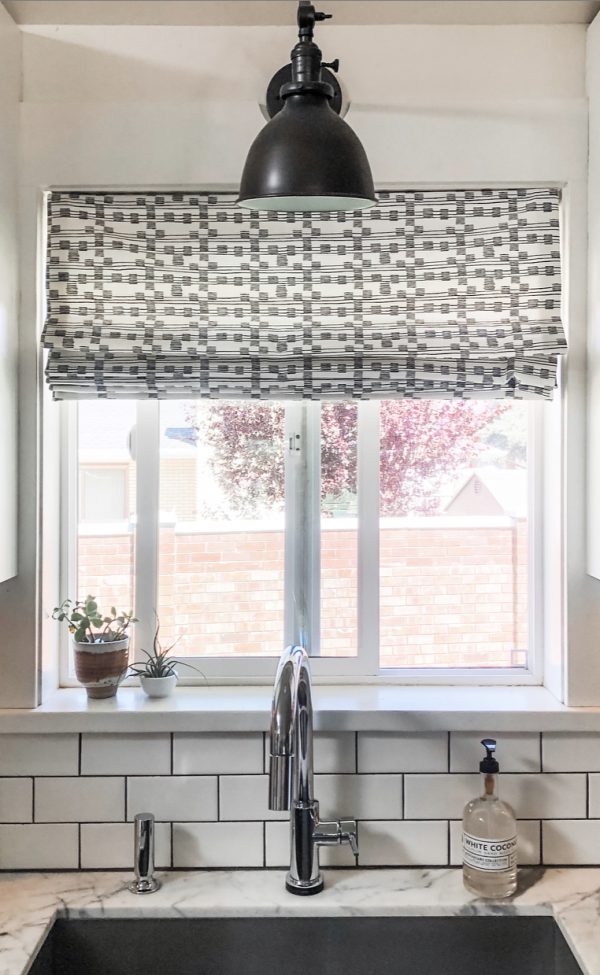
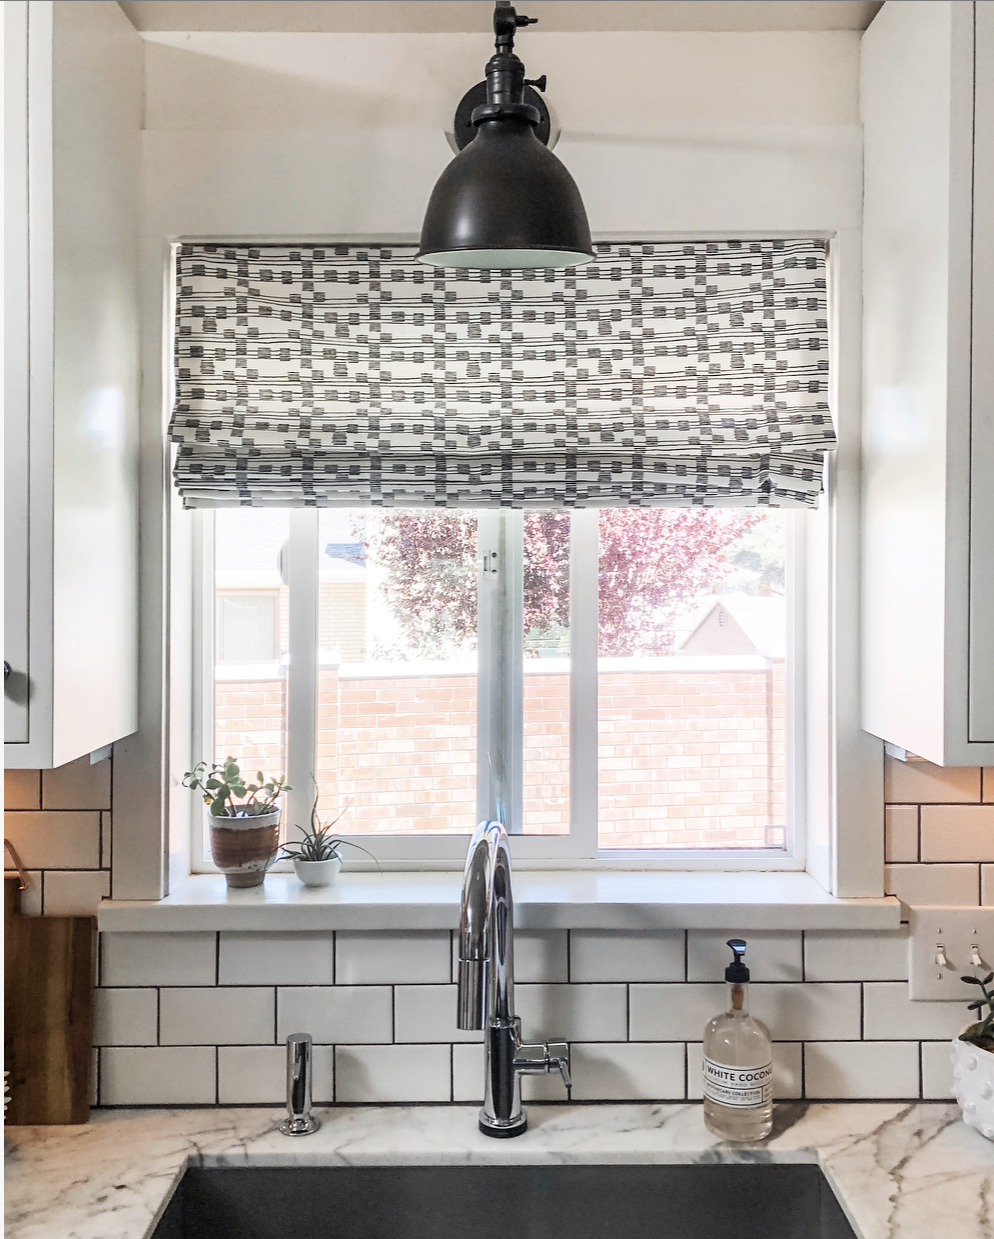
You may not think what you put on your windows is a big deal but it makes a huge impact when you read a room. Window coverings are not only functional when it comes to light control and privacy but it's an opportunity to really put an exclamation
I've often seen older generations quickly spiral
On my design radar, as of late, has been vintage
I've said this before and I'll say it again...one
Almost three years ago exactly I found this
 Hey there! I’m Michelle; I’m an Passionate DIY’er and in constant pursuit of how to bring beauty to my house full of men (3 boys + 1 hubby). Stick around and see what I’ve got up my hard-working sleaves!